
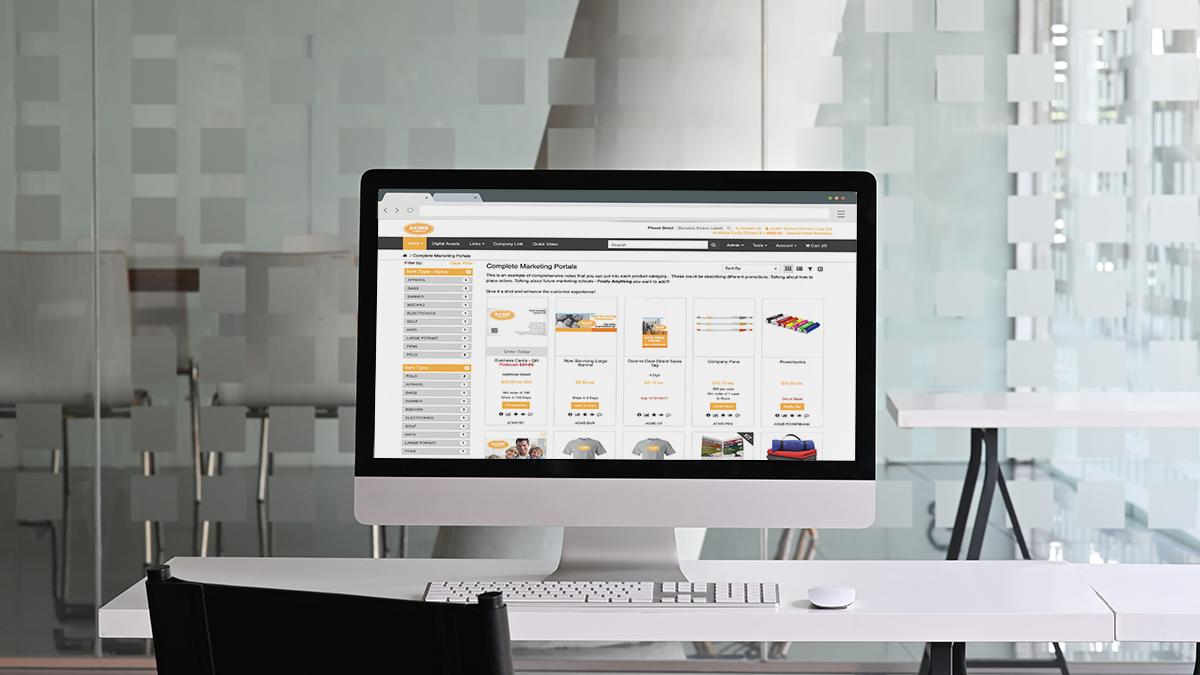
This Did You Know article aims to serve as a comprehensive overview of a fundamental feature within Propago: Upload Parts.
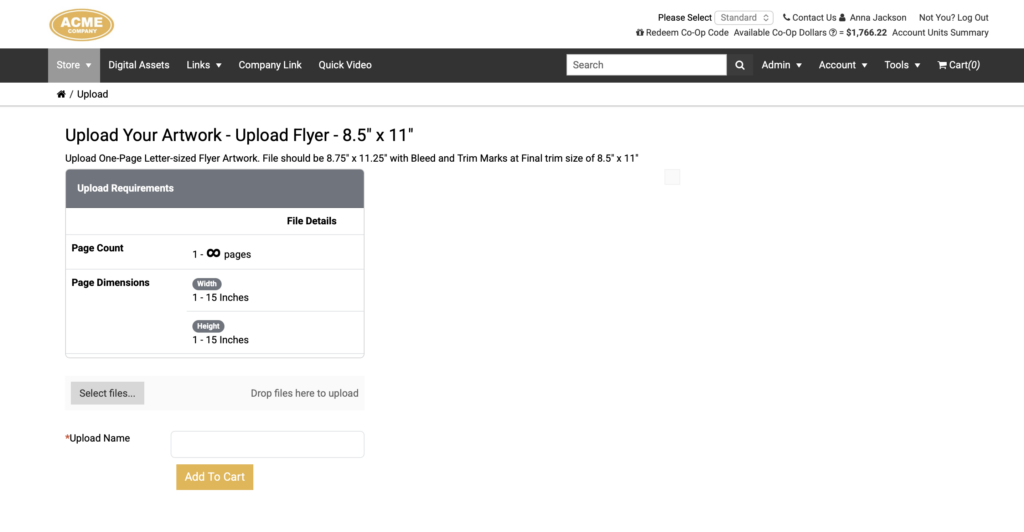
The Upload Parts feature is one of Propago’s most versatile tools for web-to-print workflows. It allows administrators to designate specific SKUs as “upload parts,” enabling end users to attach their own creative files directly to a product when placing an order. Those files then flow seamlessly into the production print queue — no emails, no manual handoffs, no delays.
Whether your clients manage brand collateral for a large distributed organization or need to offer truly custom print products to their end users, Upload Parts gives you a flexible and controlled way to handle custom artwork and print at scale.
Key Capabilities
- Optional or required uploads. You can configure whether uploading is required before ordering or simply offered as an option alongside default creative.
- Preflight enforcement. Enable preflighting to validate uploaded PDFs against size dimensions and page count requirements before the user can proceed to cart. This catches specification mismatches before they reach production.
- Price per page. Charge users based on the page count of their uploaded PDF, automatically multiplying the part’s base price by the total number of pages in the cart.
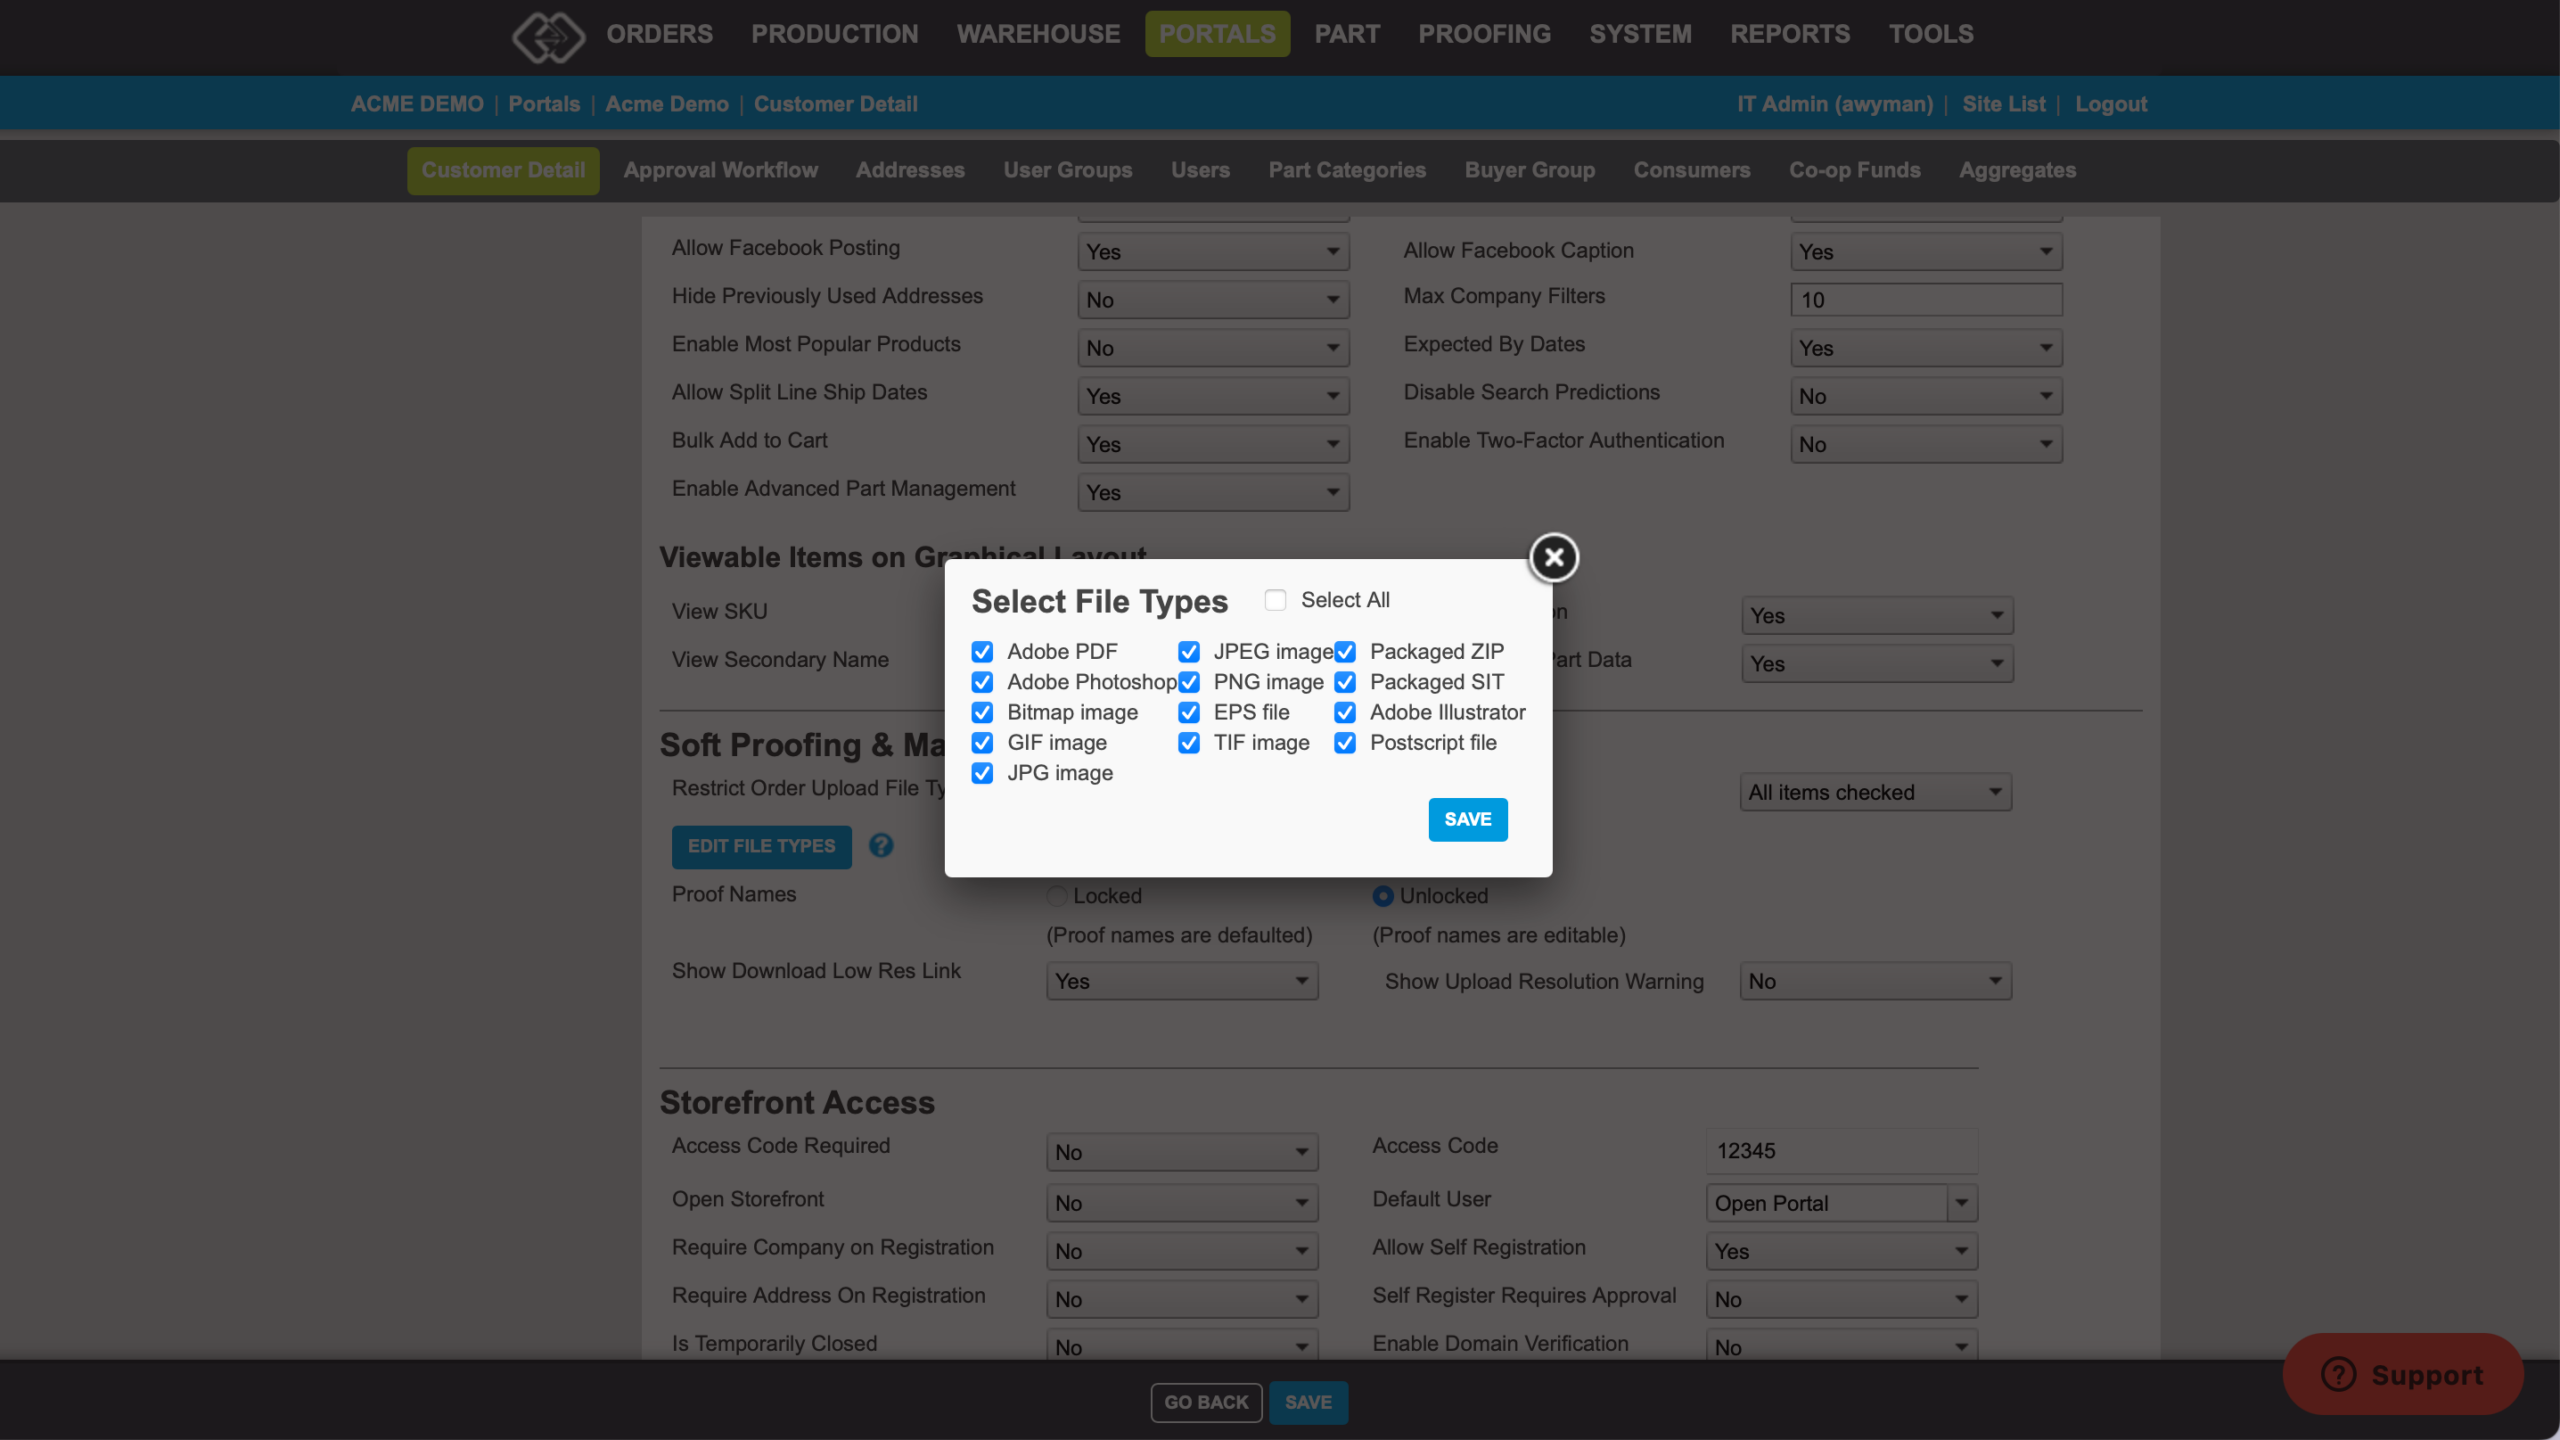
- File type restrictions. At the portal level, you can restrict which file types are accepted for uploads — PDFs, JPEGs, PNGs, TIFFs, AI files, and more — ensuring only supported formats reach your production team.
- Resolution warnings. Optionally warn users when their uploaded image appears to be low resolution, giving them the opportunity to replace the file before ordering.
Settings Overview
Upload Parts settings are configured at two levels:
Part-Level Settings (Upload Options section of the part’s settings page)
- Allow Upload — Designates the part as an Upload Part and allows users to attach a file.
- Upload is Required — Forces users to upload artwork before they can proceed to cart. Disable this when a default artwork exists that users may optionally override.
- Enable Preflight — Activates PDF validation against your specified size and page count requirements.
- Price Per Page — Multiplies the part price by the total number of pages in the uploaded PDF.
- Min/Max Page Height & Width (inches) — Enforced when preflight is enabled. Leave blank to impose no limit in that dimension.
- Min/Max Page Count — Enforced when preflight is enabled. Leave blank to impose no limit.
Portal-Level Settings (Soft Proofing & Upload section of the portal’s settings page)
- Show Upload Resolution Warning — Displays a warning to users if their uploaded image appears to be low resolution. Does not prevent ordering.
- Restrict Order Upload File Types — Controls which file types end users are allowed to upload. Supported types include PDF, JPEG, PNG, TIFF, GIF, BMP, EPS, AI, PSD, and packaged formats (ZIP, SIT). These settings are also available at the user group level for more granular control.
How to Set Up an Upload Part
- In the back end, go to Parts and select or create a part.
- On the Basic Information page, set the Print Workflow Part dropdown to “Yes” to ensure order lines route to the production queue.
- Scroll to the Upload Options section.
- Set Allow Upload to “Yes”.
- Optionally set Upload is Required to “Yes” if you want to prevent users from skipping the upload step.
- If you want to enforce preflight restrictions, set Enable Preflight to “Yes” and configure your Min/Max page and dimension settings.
- If charging per page, set Price Per Page to “Yes”.
- Click Save.
If you have any questions or need support, contact our support team at [email protected].